My Terminal Setup: iTerm2 + ZSH + Powerlevel10k

My Terminal Emulator
I use iTerm2 as my default Terminal on the Mac. It is basically a much better terminal than the default one that comes out-of-the-box with Mac operating systems having some neat features like search, autocomplete, history, split panes, etc. So, whenever I do development I got multiple panes open for running my servers in split views and iTerm2 makes doing it a breeze with some very useful shortcuts.
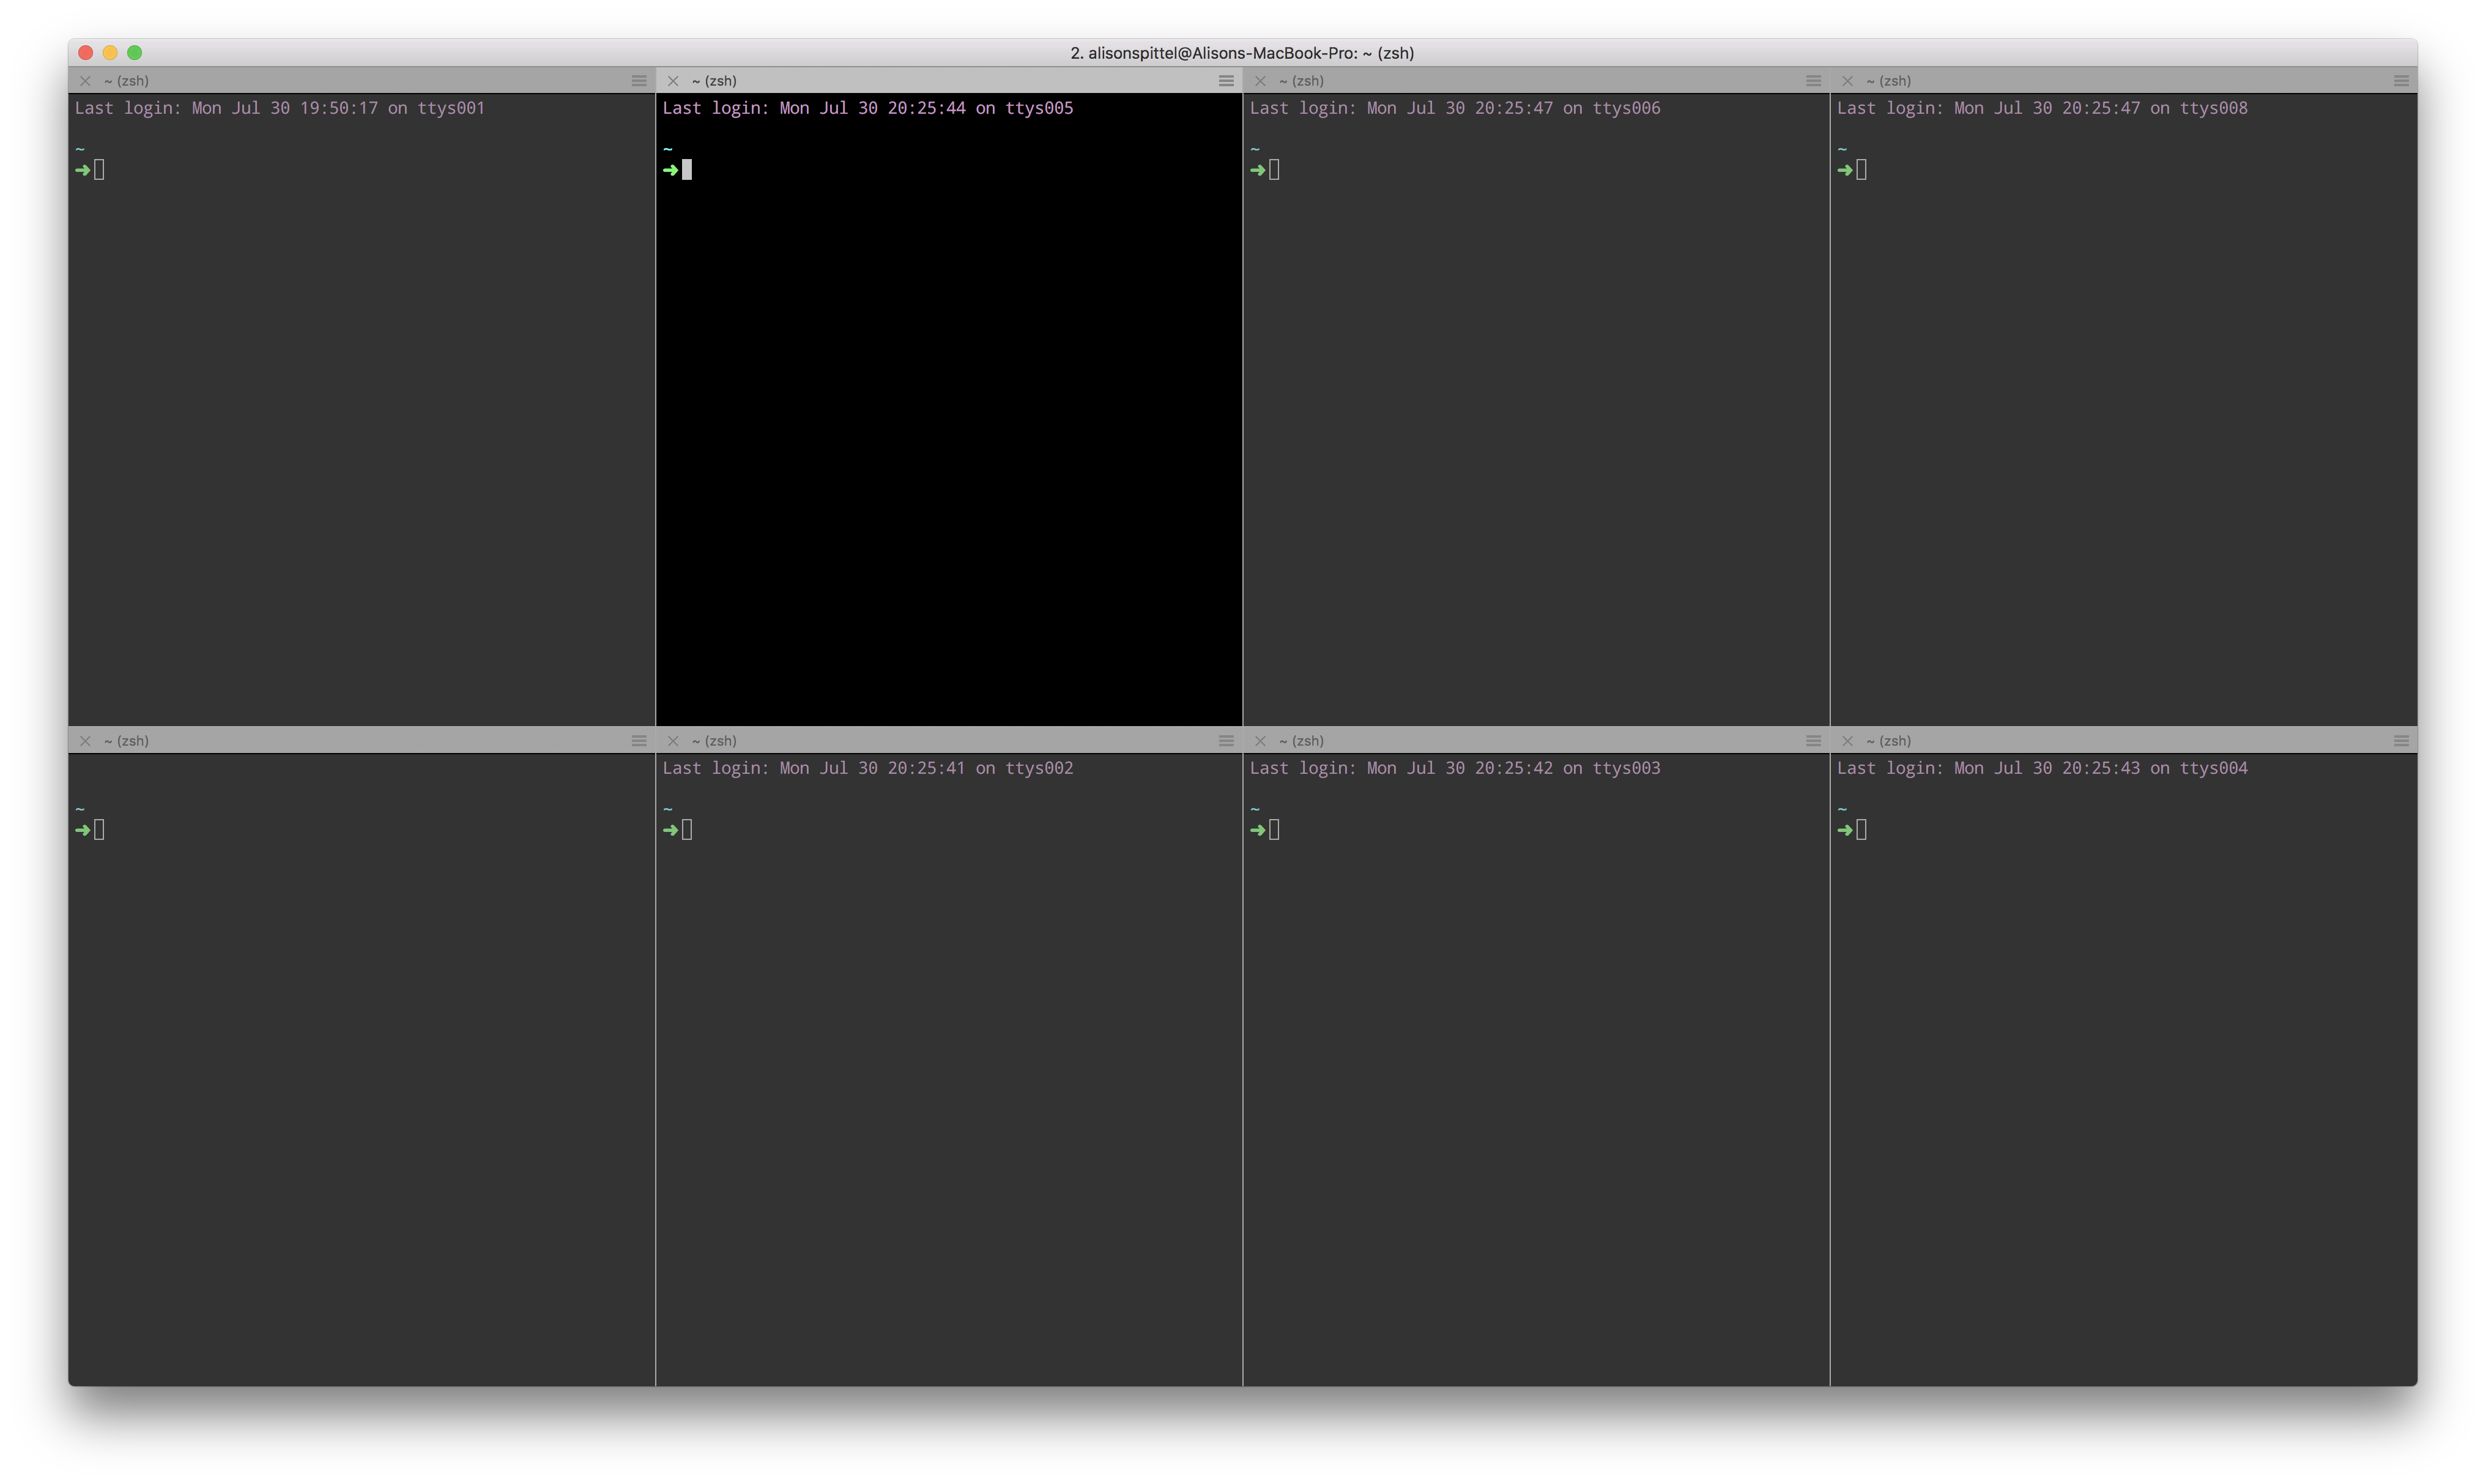
To download iTerm2 on your Mac click here.
My Shell
For my shell, I'm going to be ZSH.
ZSH, also called Z Shell, is an extended version of the Bourne shell (sh) that we are used to. It adds multiple functionalities through support for multiple plugins and themes. Since it is based on the same shell as Bash, the learning curve for the shell is fairly easier 👍.
Installing ZSH
If you're on a Mac like me, the easiest way to install the shell is through Homebrew through a single command:
brew install zsh
This should install the shell on your machine. Alternatively, if you're on Linux following this guide, and if you're on Windows follow this guide.
Now, to set ZSH as your default shell use the following command
chsh -s /usr/local/bin/zsh
Alternatively, for older Mac OS High Sierra and before you might want to run the following instead
chsh -s /bin/zsh
Installing Oh-My-Zsh
For configuring plugins and styling our shell we will be using Oh-My-Zsh.
Oh-My-Zsh is essentially a framework to manage your ZSH configuration, is highly recommended to download and set it up. You can do so by using CURL
sh -c "$(curl -fsSL https://raw.githubusercontent.com/robbyrussell/oh-my-zsh/master/tools/install.sh)"
.zshrc
We will use .zshrc file instead of .bash_profile file that we used for the Bash shell. This is the file in which we will be configuring plugins and themes for the shell.
To install plugins we will use plugins section on the .zshrc file.
ZSH Plugins
git
The git plugin for ZSH provides many aliases and useful functions for git on ZSH. To install it, specify it on the .zshrc under the plugins section
plugins=(git)
For it to take effect and reload your shell
source ~/.zshrc
wd
wd (warp directory) is a neat plugin that lets us jump to custom directories in zsh without using a cd , as cd might be inefficient when the frequently visited directories have a long path.

To install it, do the following
plugins=(git wd)
For it to take effect and reload your shell
source ~/.zshrc
docker
The docker enables auto-completion for docker.
To install it, do the following
plugins=(git wd docker)
For it to take effect and reload your shell
source ~/.zshrc
zsh-autosuggestions
Another great alternate shell is fish , it comes with some next-level auto-suggestions for writing your terminal commands. Nevertheless, you can have similar auto-suggestions on zsh using the plugin zsh-autosuggestions .
The zsh-autosuggestions plugin gives you fast and Fish-like unobtrusive auto-suggestions for ZSH.
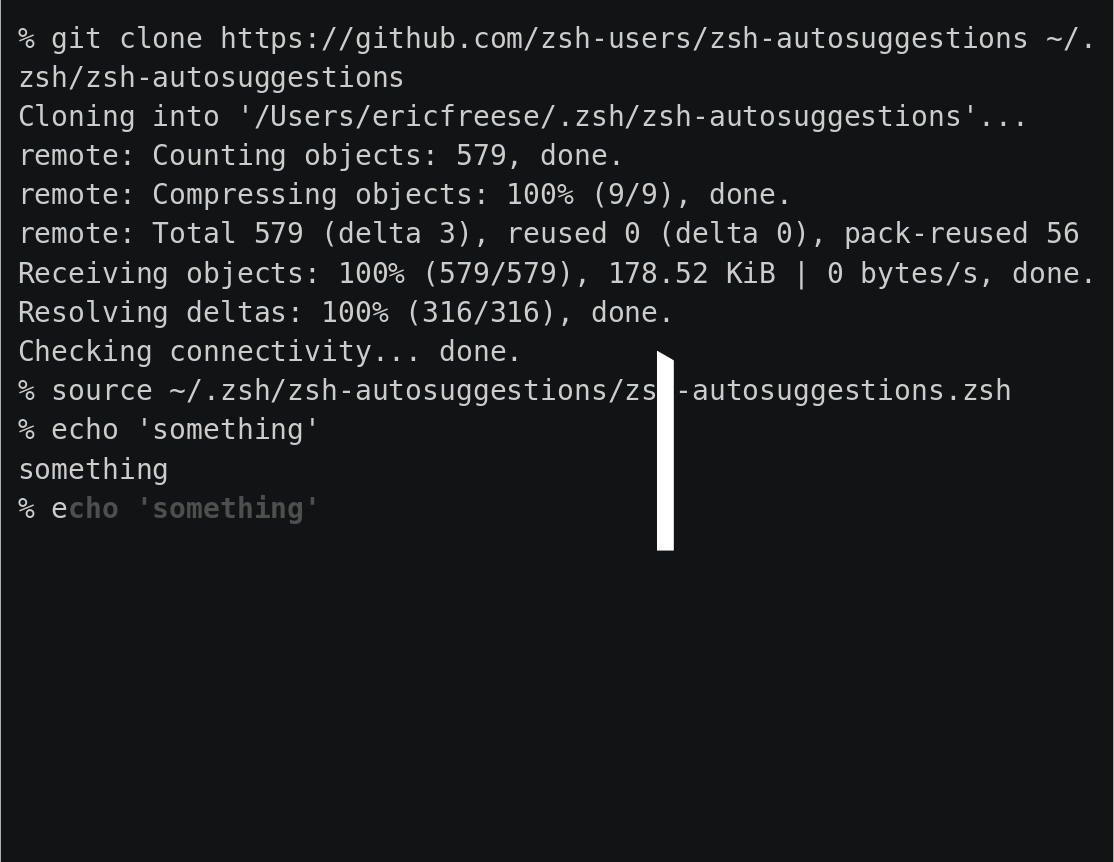
We can use git to clone the repository into our ZSH plugins folder
git clone https://github.com/zsh-users/zsh-autosuggestions.git $ZSH_CUSTOM/plugins/zsh-autosuggestions
Now, let's specify the plugin in our .zshrc file
plugins=(git wd docker zsh-autosuggestions)
Reload the shell for it to take effect
source ~/.zshrc
zsh-syntax-highlighting
I really like the syntax coloring that comes with Fish, you can have similar syntax coloring on ZSH using the zsh-syntax-highlighting plugin. It enables the highlighting of commands whilst they are typed at a zsh prompt into an interactive terminal. This helps in reviewing commands before running them, particularly in catching syntax errors.
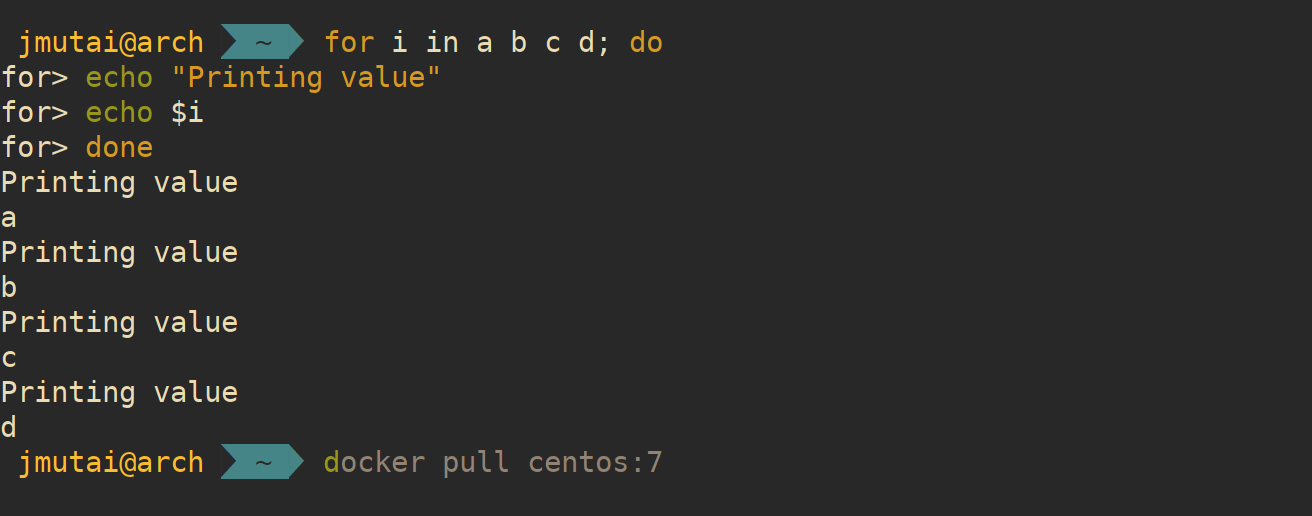
We will use git once again to clone the repository into our ZSH plugins folder
git clone https://github.com/zsh-users/zsh-syntax-highlighting.git $ZSH_CUSTOM/plugins/zsh-syntax-highlighting
Now, let's specify the plugin in our .zshrc file
plugins=(git wd docker zsh-autosuggestions zsh-syntax-highlighting)
Reload the shell for it to take effect
source ~/.zshrc
Voila, now that we are done with the essential plugins let's go ahead and style our ZSH shell.
Powerlevel10k
Powerlevel10k is an update to the ever so popular Powerlevel9k with some improvements.
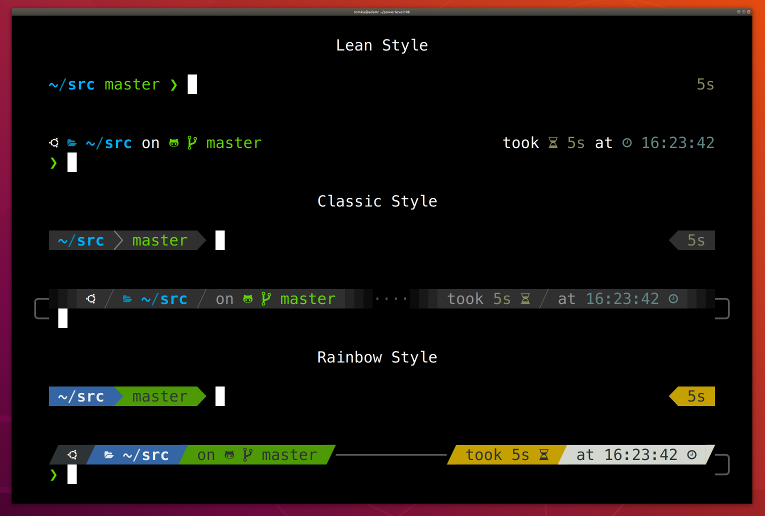
Let's begin with installing the required fonts and enable them on iTerm2. To download the fonts visit the following links:
- Source Code Pro
- Source Code Pro + Font Awesome, this one is needed if you want the icons from Font Awesome as shown in the screenshot for Powerlevel10k.
- Others @ powerline fonts
Open the downloaded font and press "Install Font".
Set this font in iTerm2 (iTerm → Preferences → Profiles → Text → Font), in the dropdown select the desired Font. You will see it change on the fly.
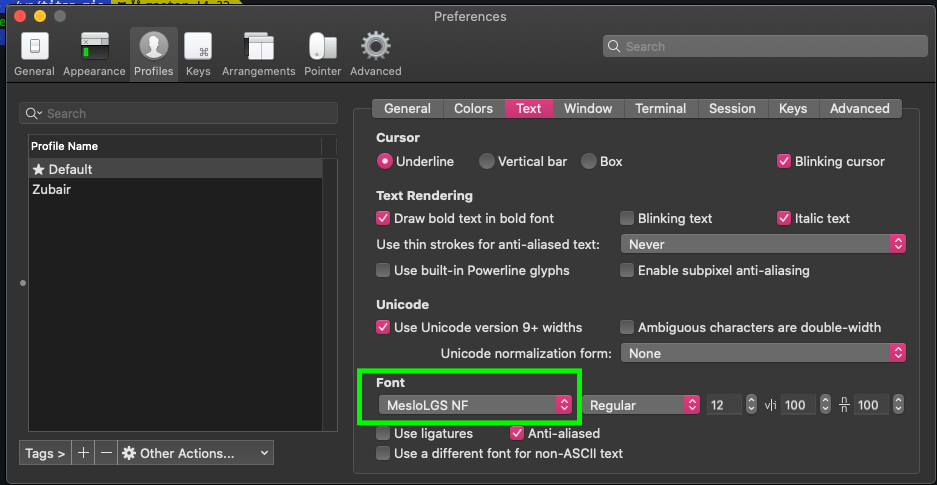
Restart iTerm2 for all changes to take effect.
By default, word jumps (option + → or ←) and word deletions (option + backspace) do not work. To enable these, go to "iTerm → Preferences → Profiles → Keys → Presets... → Natural Text Editing → Boom! 🤯
Bonus: VS Code Terminal Config
Installing a patched font will mess up the integrated terminal in VS Code unless you use the proper settings. Edit VS code preference and set the following key value pairs:
- for Source Code Pro + Font Awesome:
"terminal.integrated.fontFamily": "'SourceCodePro+Powerline+Awesome Regular'"The single quotes are important! Restart VS Code after the config change. - for Source Code Pro:
"terminal.integrated.fontFamily": "Source Code Pro for Powerline" - for Meslo:
"terminal.integrated.fontFamily": "Meslo LG M for Powerline"
Now, that the required fonts have been installed. We will use git and Oh-My-Zsh to install Powerlevel10k
git clone --depth=1 https://github.com/romkatv/powerlevel10k.git ${ZSH_CUSTOM:-$HOME/.oh-my-zsh/custom}/themes/powerlevel10k
Now, Set ZSH_THEME="powerlevel10k/powerlevel10k" in ~/.zshrc. Reload your terminal for the change to take effect
source ~/.zshrc
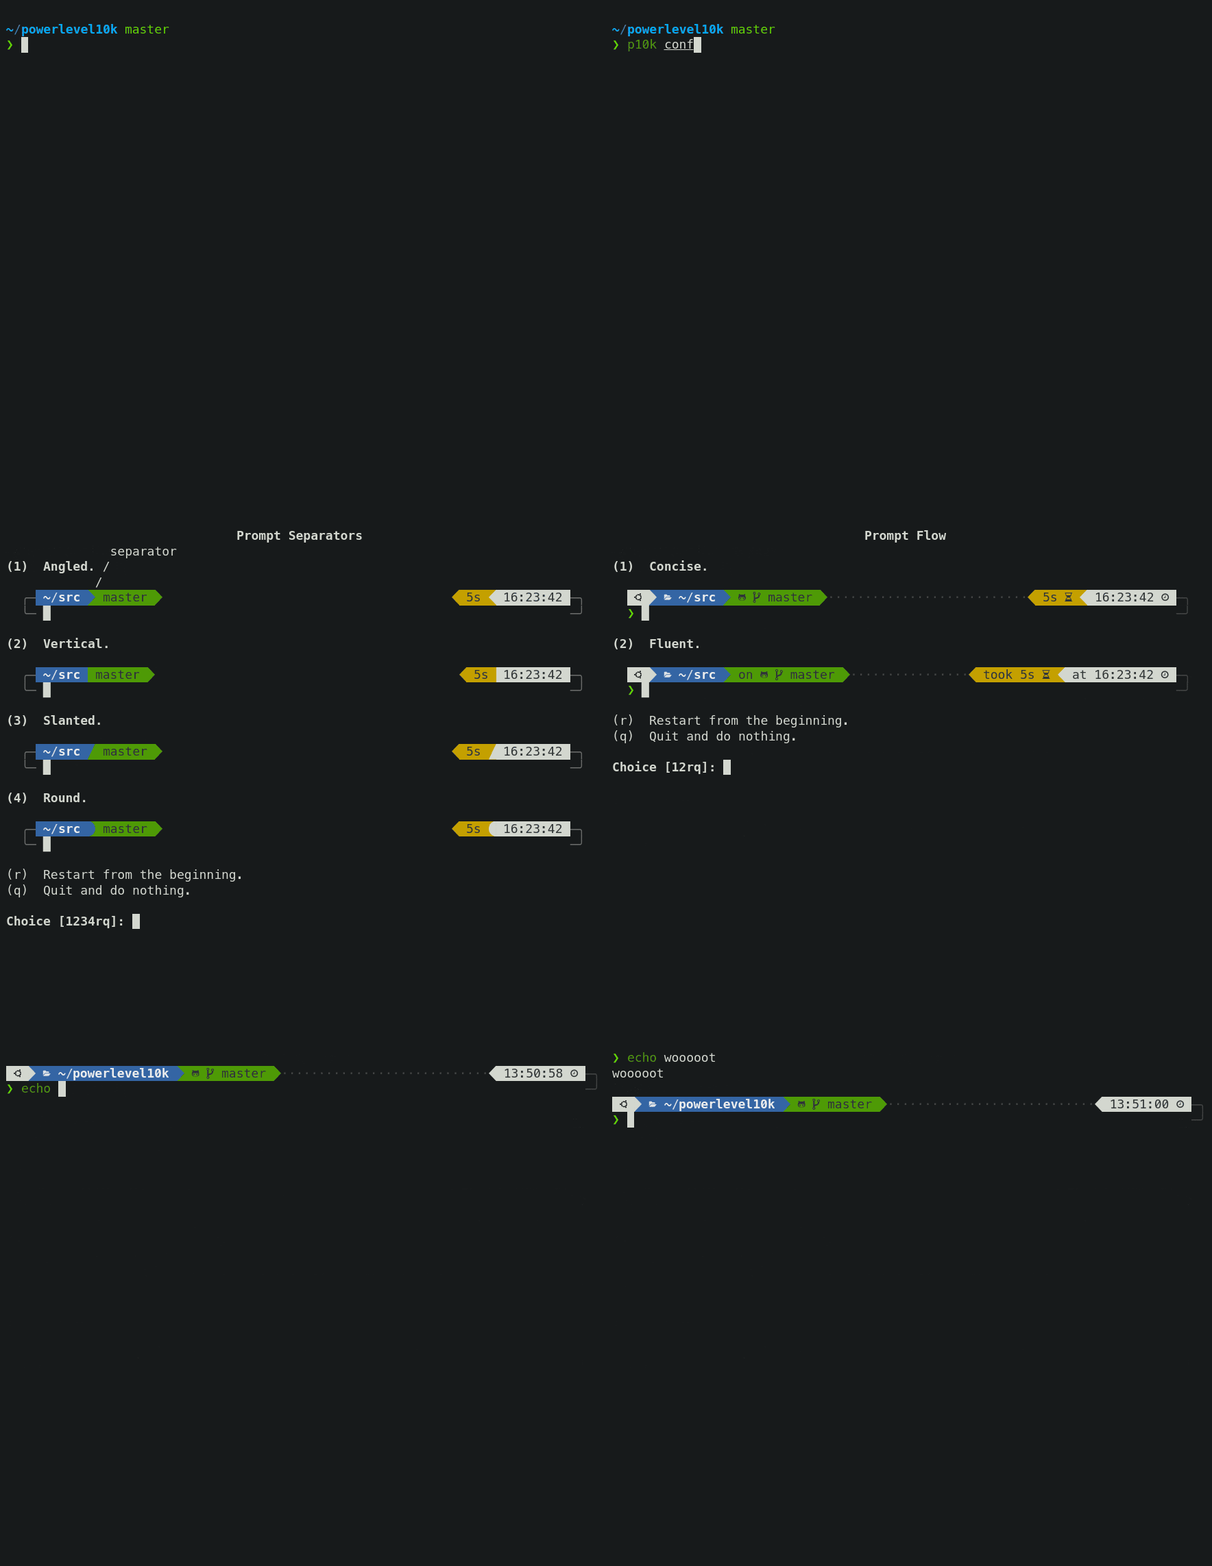
Boom! You're done. You have configured and setup some next level terminal, now you can go crazy being all Sci-fi and productive.

Happy Grizzly 🐻 Coding!

Related Posts

What's New in Node.js 24 (And How to Upgrade Your Codebase Smoothly)
Node.js 24 is here with game-changing features like V8 13.6, Float16Array, explicit resource management, WebAssembly Memory64, and npm 11. Learn what's new and how to upgrade smoothly.
Use Hook in React 18
This blog post focuses on the new experimental feature in React 18 called the use hook. It explains how the use hook can be used to create custom hooks that can be reused across different components, simplifying state management and making code more modular.
Optimal SEO Performance for NextJS
In this blog post we'll explore how Next.js can help you optimize your website for search engines From server-side rendering to automatic code splitting we will cover all the features that make Next.js a powerful tool for SEO optimization