How to use Screen on Linux to Detach and Reattach your Terminal

Why Screen?
screen is this awesome software tool in Linux that provides you the ability to spring-up and use multiple shell sessions from a single ssh session. Screen essentially acts as a terminal multiplexer emulator that is packed with features (just look at the size of its man page, you'll know 😝)
A few key benefits of screen are:
- Leverage the use of multiplexer to create multiple shell windows from a single shell SSH session
- Re-establish access and control of the shell session through network disruptions
- Ability to disconnect and re-connect to a shell session from any system
- Ability to daemonize a session to keep a long-running process and attach to the session whenever needed
Honestly, the above ☝ are just a few examples. There are many
How to install it?
It is most likely already have screen installed on your system. To check if you already have it installed you can use the which command to inspect the path of screen on your system.
which screen
#output
/usr/bin/screen
If you don't have screen, then you can easily install it using yum on CentOS
sudo yum install screen
or on Debian using apt like
sudo apt install screen
or on Manjaro using pacman like
sudo pacman -Sy screen
or on Fedora using dnf like
sudo dnf install screen
Once, you have successfully installed it you can check using the which command again. Alternatively, you can run the screen command
screen
It should prompt you a new window within the screen

How to use it?
Using Sessions
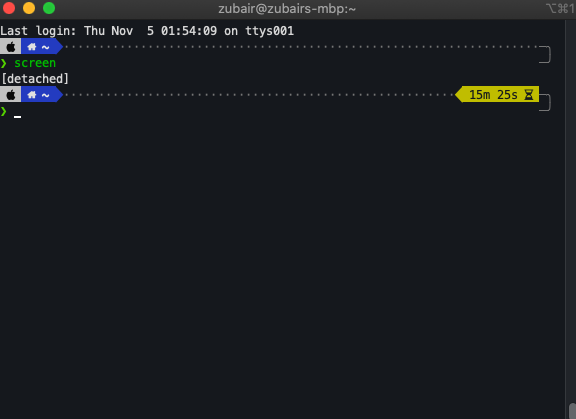
To get started just use your command line and simply type as shown below:
screen
You'll see a page of legal information. You can now press Space or Enter to go to the command prompt.
🤔 Hmmm, you seem to have returned to you your normal session and nothing seems to have happened. But surprise-surprise, you're now running a shell inside your screen multiplexer emulator.
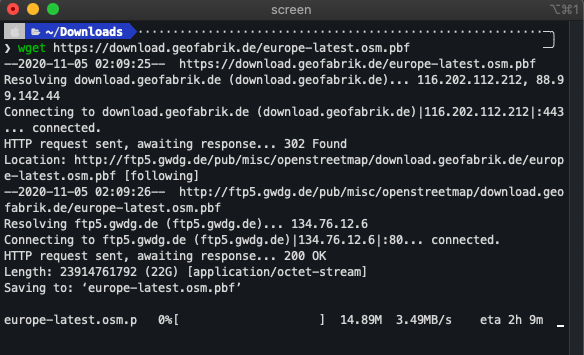
Let's get testing by running a long-running script on the session. Let's download some bug file
wget https://download.geofabrik.de/europe-latest.osm.pbf
Now our download will begin, and the progress will be display on the screen.

Now, we are going to detach from the session using Clrl+A and then press d.
now lets list out the screen windows using the -ls (list) option
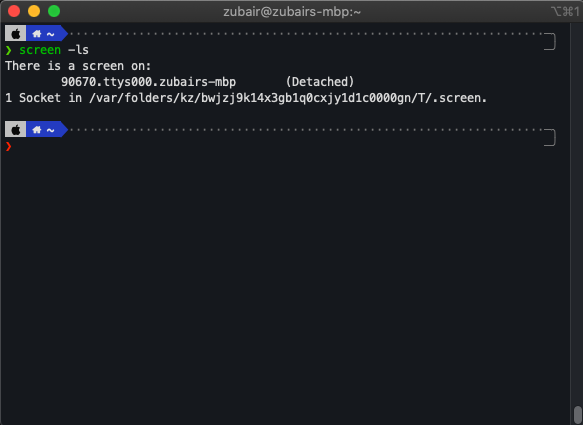
We are can use the -r (reattach) option and the number of the session to reattach to it
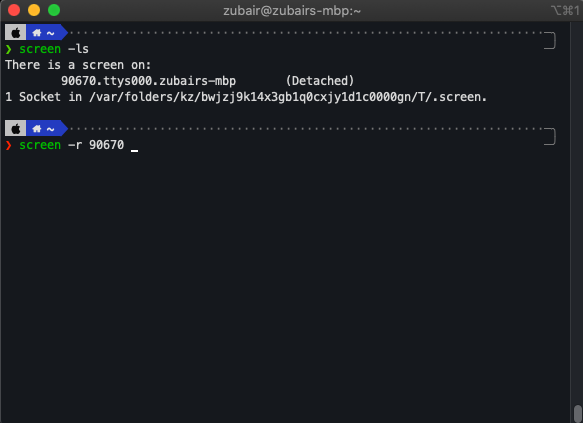
And just like that, you're back working on your download. 😄
You can always exit from a screen session by just typing the exit command as you would do in a typical session.
exit
If you're not comfortable using numbered sessions and would like some semantic name for them you can do use using the -S (session name) option.
screen -S bigassDownload
Appropriately our command to reattach will now be leveraging the name of the session that we had quite some creatively given
screen -r bigassDownload
Recap
- On the terminal, type
screen - Use Ctrl+a + d to detach from the screen session
- Reattach to screen session by typing
screen -r <ID> - Start a named session using
screen -S <name> - Reattach to a named screen session by typing
screen -r <name>
Conclusion
My fellow coders, programmers, and wannabe hackers; we just learn how to use screen on Linux. Now you can start using the utility and go-crazy impressing people with your nifty terminal skills.
You can also personalize your screen utility by using a .screenrc file. To learn about the various customization options you can follow the Screen User's Manual.
Happy Grizzly Coding! 🐻

Related Posts

How to create an SSH tarpit
A quick an easy way get back at those obnoxious hacker that target to gain SSH access to your Linux server. This article will show you how to trap the hackers in a SSH tarpit.

How to Use Tee on Linux
Ever wondered how to read from standard input and write results to standard output and files at the same time? Look no further, tee on Linux lets you do just that with no hassle. In this article, we will discuss the basics of tee with some easy to understand examples.

How to install OpenVPN using Docker
In this article we will be seeing how easy it is to get started with your own OpenVPN server.