Easy Remote Debugging Node.js using VS Code
If you haven't been using VS Code, you have no idea what you have been missing. This editor with its speed, customization, and an immense sea of plugins, has become my go-to for everything I do. But one of the most under-rated features of VS Code is its debugging capability. In this post, we will see how to perform remote debugging on a server running heedlessly leveraging the power of an SSH tunnel.
Without further ado, let's get going...
Prerequisites
First thing first, you'll need to have VS Code installed, you can do so by clicking here.
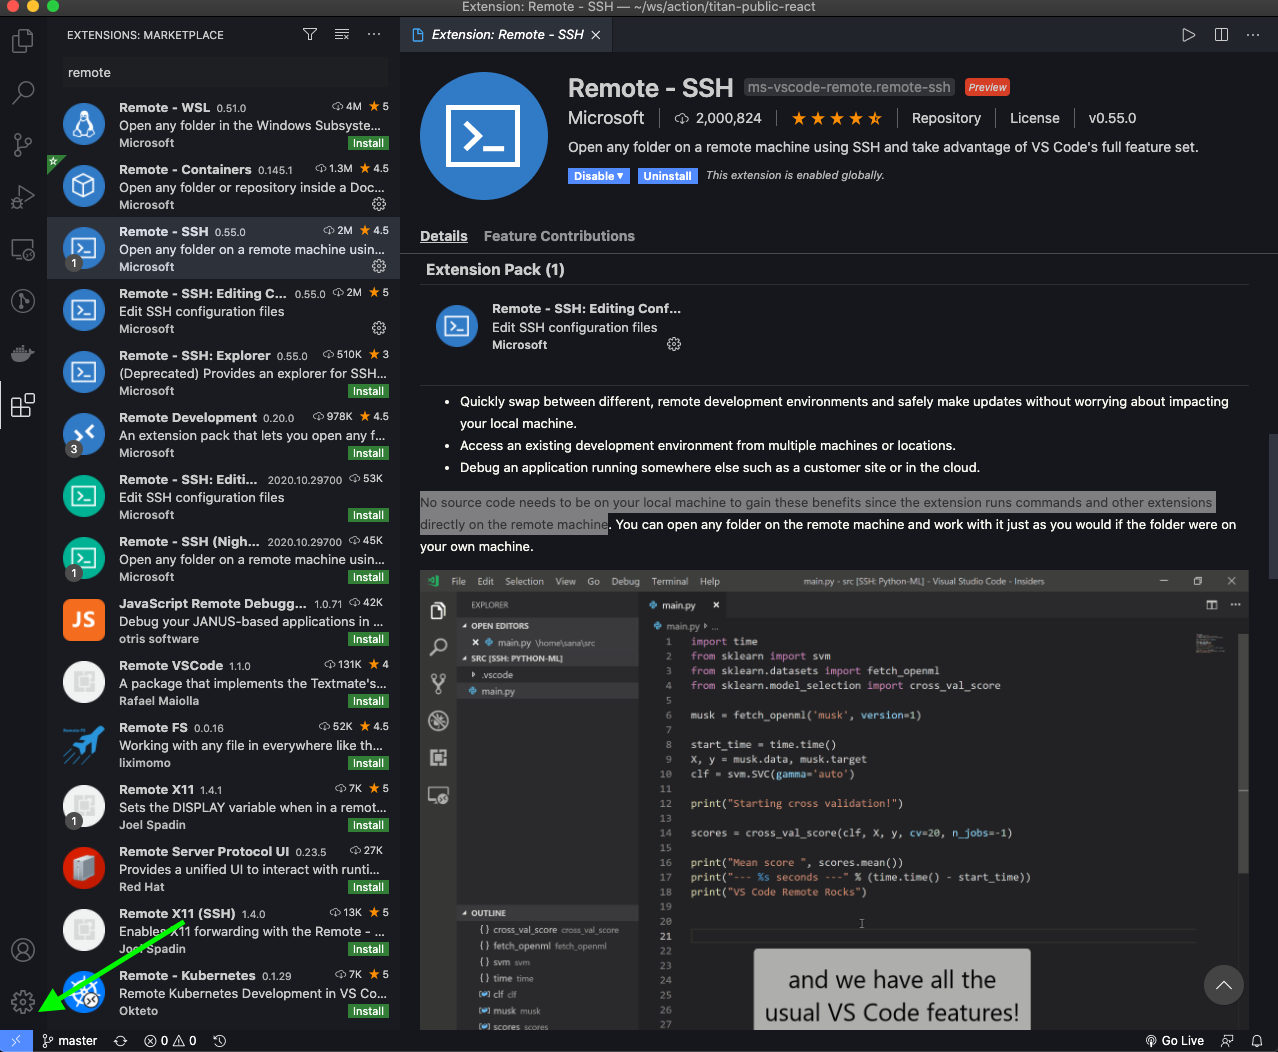
Once you have done that, you can install the Visual Studio Code Remote - SSH extension. The Remote - SSH extension lets you use any remote machine with an SSH server as your development environment. This can greatly simplify development and troubleshooting in a wide variety of situations.
The key benefit of using this extension is that no source code needs to be on your local machine to gain these benefits since the extension runs commands and other extensions directly on the remote machine.
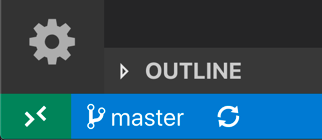
Once you have installed the extension, a special button should appear at the bottom-right corner of your editor
This extension will allow us to access remote servers using ssh tunnel for servers running the following platforms:
- x86_64 Debian 8+, Ubuntu 16.04+, CentOS / RHEL 7+ Linux.
- ARMv7l (AArch32) Raspbian Stretch/9+ (32-bit).
- ARMv8l (AArch64) Ubuntu 18.04+ (64-bit).
- Windows 10 / Server 2016/2019 (1803+) using the official OpenSSH Server.
- macOS 10.14+ (Mojave) SSH hosts with Remote Login enabled.
Other glibc based Linux distributions for x86_64, ARMv7l (AArch32), and ARMv8l (AArch64) should work if they have the needed prerequisites. See the Remote Development with Linux article for information prerequisites and tips for getting community-supported distributions up and running.
Next, we will need an OpenSSH compatible SSH Client. If you don't have one already, you can follow the instructions enlisted below for different operating systems
| Platform | Instructions |
|---|---|
| Windows 10 1803+ / Server 2016/2019 1803+ | Install the Windows OpenSSH Client. |
| Earlier Windows | Install Git for Windows. |
| macOS | Comes pre-installed. |
| Debian/Ubuntu | Run sudo apt-get install openssh-client |
| RHEL / Fedora / CentOS | Run sudo yum install openssh-clients |
Get Started
Once, you have the extension and an OpenSSH compatible SSH Client installed, you can go back to VS Code and connect as follow:
- Click on the button left button for the extension or open the command palette with the command
Remote-SSHyou should see the following options
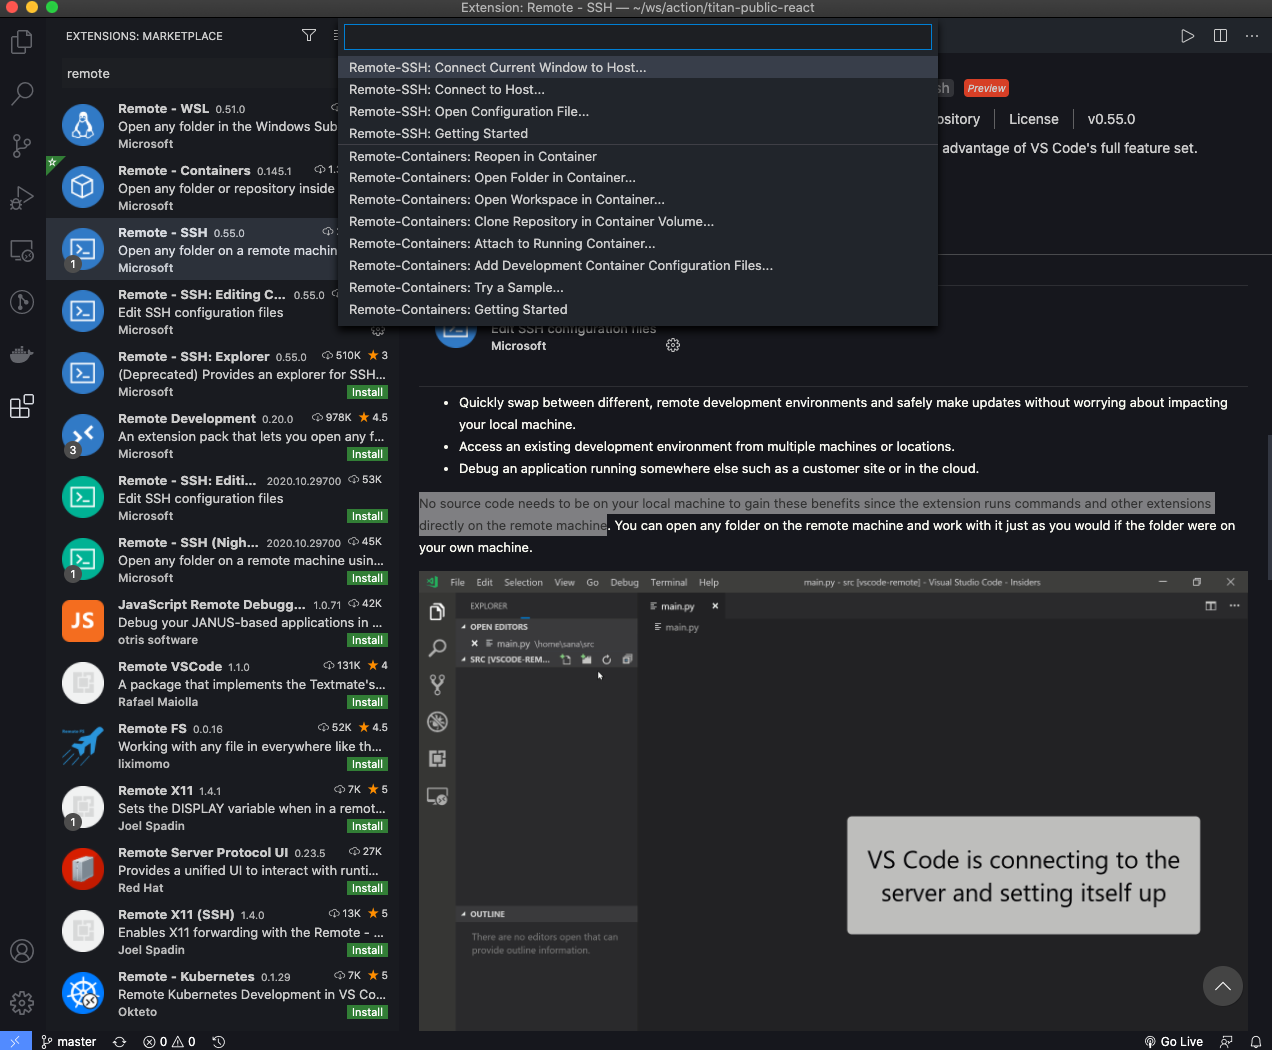
- Now let's choose
Connect to Hostoption you should be prompted to put the server details in the following format:
user@host-or-ip or user@domain@host-or-ip
- Then you'll be prompted to enter the password
Voila! you're connected to the remote server through SSH. You can then use File > Open Folder to open a folder on the host machine.
Now, once you open a Node.js application folder on the server, you leverage the use of the VS Code built-in debugger to run and debug your program on the remote server.
Quick Access
I would highly recommend leveraging SSH key-based authentication for quick access to the server to have quick and secure access to your remote host. To set up SSH key-based authentication for your remote host.
Firstly, we'll create a key pair and then copy the public key to the host. Check to see if you already have an SSH key on your local machine. This is typically located at ~/.ssh/id_rsa.pub on macOS / Linux, and the .ssh directory in your user profile folder on Windows (for example C:\Users\your-user\.ssh\id_rsa.pub). If not, then you can generate with the following command:
ssh-keygen -t rsa -b 4096
Now, we will be using ssh-copy-id to authorize our key-pair to the server:
ssh-copy-id -f -i ~/.ssh/id_rsa.pub user@host-or-ip
You might be prompted to enter the password, you can do so.
Now, we will to edit the .ssh/config file to add the entry for ssh access:
Host <host-or-ip>
	User <username>
    IdentityFile ~/.ssh/id_rsa
    ServerAliveInterval 10
Now, that the key-based authentication is set up, you can access the server without the need to enter the IP/Host or authentication details.
That's pretty much it!
Happy Grizzly Coding 🐻 !

Related Posts

How to SSH using Node.js
Quick tip on how to build an application that will SSH to servers and run commands using Node.js for automation of commands and complex deployments.

What's New in Node.js 24 (And How to Upgrade Your Codebase Smoothly)
Node.js 24 is here with game-changing features like V8 13.6, Float16Array, explicit resource management, WebAssembly Memory64, and npm 11. Learn what's new and how to upgrade smoothly.

How to create an SSH tarpit
A quick an easy way get back at those obnoxious hacker that target to gain SSH access to your Linux server. This article will show you how to trap the hackers in a SSH tarpit.